
The holiday season is upon us, and there’s no better way to celebrate than by adding a sprinkle of creativity to your festivities! Whether you’re decking the halls or looking for that perfect handmade gift, let’s add a personal touch that shines. Imagine transforming simple materials into stunning hanging holiday pins that brighten up your décor and can be cherished for years. In this blog post, we’ll guide you through crafting delightful pins right in the comfort of your home.
Gather Your Materials
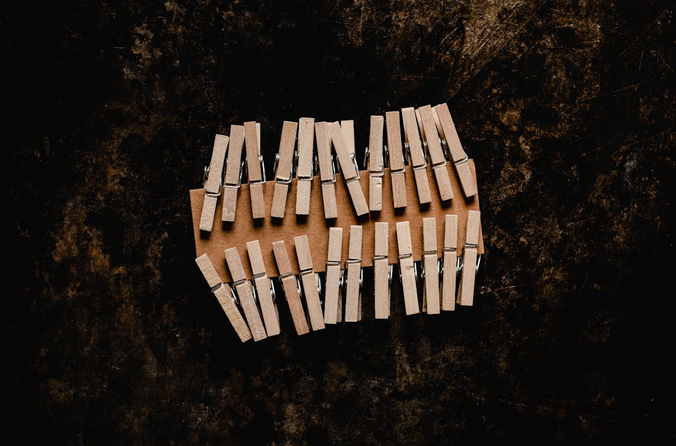
Before you start crafting, make sure you have all the necessary materials. You won’t need anything too complicated, but you’ll want to have everything ready before diving in. Home Services Marketing Hook Agency will help you with any creative inspiration, including the materials. You’ll need holiday-themed pins or brooches, string or ribbon to hang the pins, a hot glue gun with glue sticks, and optional small embellishments like tiny ornaments, beads, or glitter for extra decoration. You’ll also need scissors to cut the string and mini clothespins to attach them to a surface. Once you have everything, you can create your DIY hanging holiday pins.
Prepare the Pins
Start by selecting the holiday-themed pins or brooches you want to use. These could be anything from snowflakes and Christmas trees to gingerbread men or festive wreaths. If you don’t have any pins on hand, you can easily find them online or even repurpose old brooches you no longer wear. Next, ensure that the back of the pin is free of sharp edges or clasps that might make it difficult to hang. If you’re repurposing pins, you can gently remove the back clasp if needed.
Attach the String or Ribbon
Now, it’s time to add the hanging element to your pin. Cut a piece of string or ribbon—about 6-8 inches long, depending on how long you want the hanging pin to be. Use a hot glue gun to attach one ribbon end to the top of your pin. You can add a small amount of glue to the back of the pin, making sure it sticks securely. If you’re using a brooch with a pin-back clasp, you can simply glue the ribbon directly to the back. If your pin has a flat surface, securing the ribbon in place may be more manageable. Hold it in place for a few seconds until the glue cools and hardens.
Add Embellishments (Optional)

Consider adding small embellishments to give your DIY hanging holiday pin a little extra sparkle. You can glue tiny ornaments, beads, or glitter to the pin or around the string for added flair. If you want to make it extra festive, sprinkle a bit of fake snow or add a small jingle bell for a fun sound effect when it moves. Feel free to get creative with the embellishments based on your personal style or the theme of your holiday decor.
Display or Gift Your Pins
Once your holiday pins are ready, you can hang them wherever you like! Use them to decorate your Christmas tree, wreaths, or even little decorations on your table settings. They also make perfect additions to holiday gift packages or even as ornaments for a personalized tree. If you feel generous, you can gift these hanging holiday pins to friends and family. Add a personal note or hang them on a small gift bag for an extra touch of homemade charm.
Making DIY hanging holiday pins is a simple and enjoyable craft project that adds a personal touch to your holiday season. Whether decorating your home or creating unique gifts for loved ones, these little pins can be a beautiful and fun way to spread festive cheer. Gather your materials, get crafty, and let your creativity shine this holiday season.